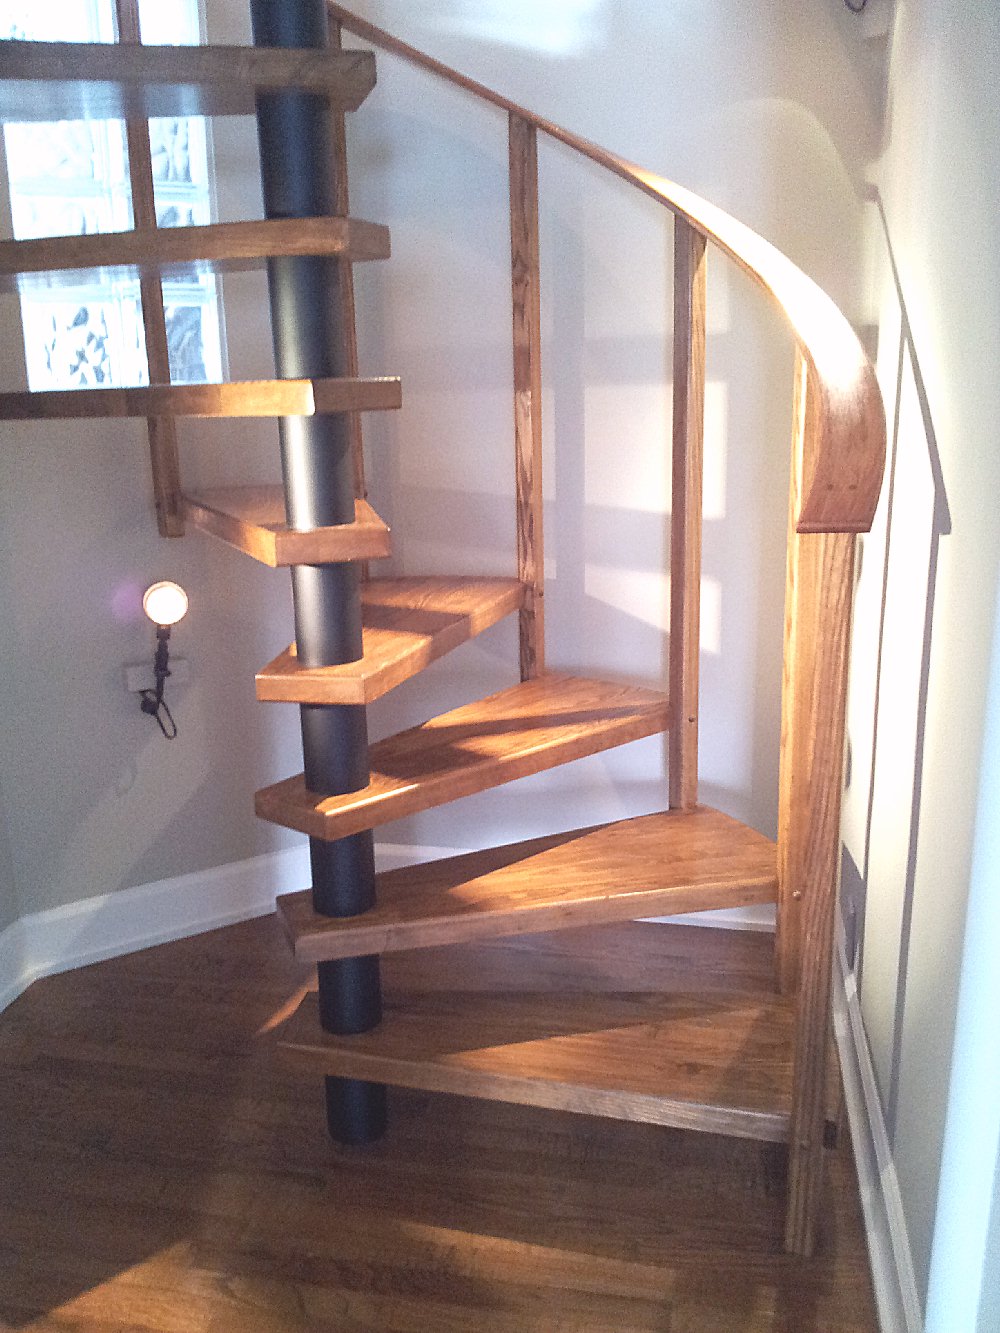
Home built stair pictures. Home Page 1 Page 2 Page 3 Page 4 Page 5 Page 6 Page 7


Don Gerace

I made much of the spiral staircase in my garage in Florida, which is my permanent home. As a retirement project I decided to build a small cabin in the mountains of Tennessee. I am attaching some photos of my spiral staircase, one before I began varnishing the treads.

Since my spiral staircase is to go into a small cabin from the main living floor to the basement, I am not looking for beauty in my staircase as much as for utility and low cost. I have been able to make the treads here, and plan on making the parts for the center pole as well, and then transport the parts to TN.

You will note that I attached rubber mats to all of the treads. This staircase is between living floor and our basement/laundry room. We have a lot of red clay mud at certain times of the year, and the mats are easy to keep clean.

All the best,

Don Gerace


Click the small images for the bigger ones.

Pine spiral staircase treads Pine spiral stair treads Pine spiral stair Pine spiral staircase Spiral staircase parts


Mark Thiesmeyer

Hi Jim,

I cannot thank you enough for your support throughout this build. You were always so responsive every time we needed help. We love your design and we customized the top railing to fit our situation.

Mark

Notice the end of the handrail Mark built, pretty nice.


Click the small images for the bigger ones.

Stair stringers Replacing stairs Floor hole for spiral staircase Floor hole for spiral stair Spiral staircase parts Spiral stair parts DIY spiral staircase plans Spiral stair plans DIY spiral stair plans Building spiral stairs


Sue

Hi again,

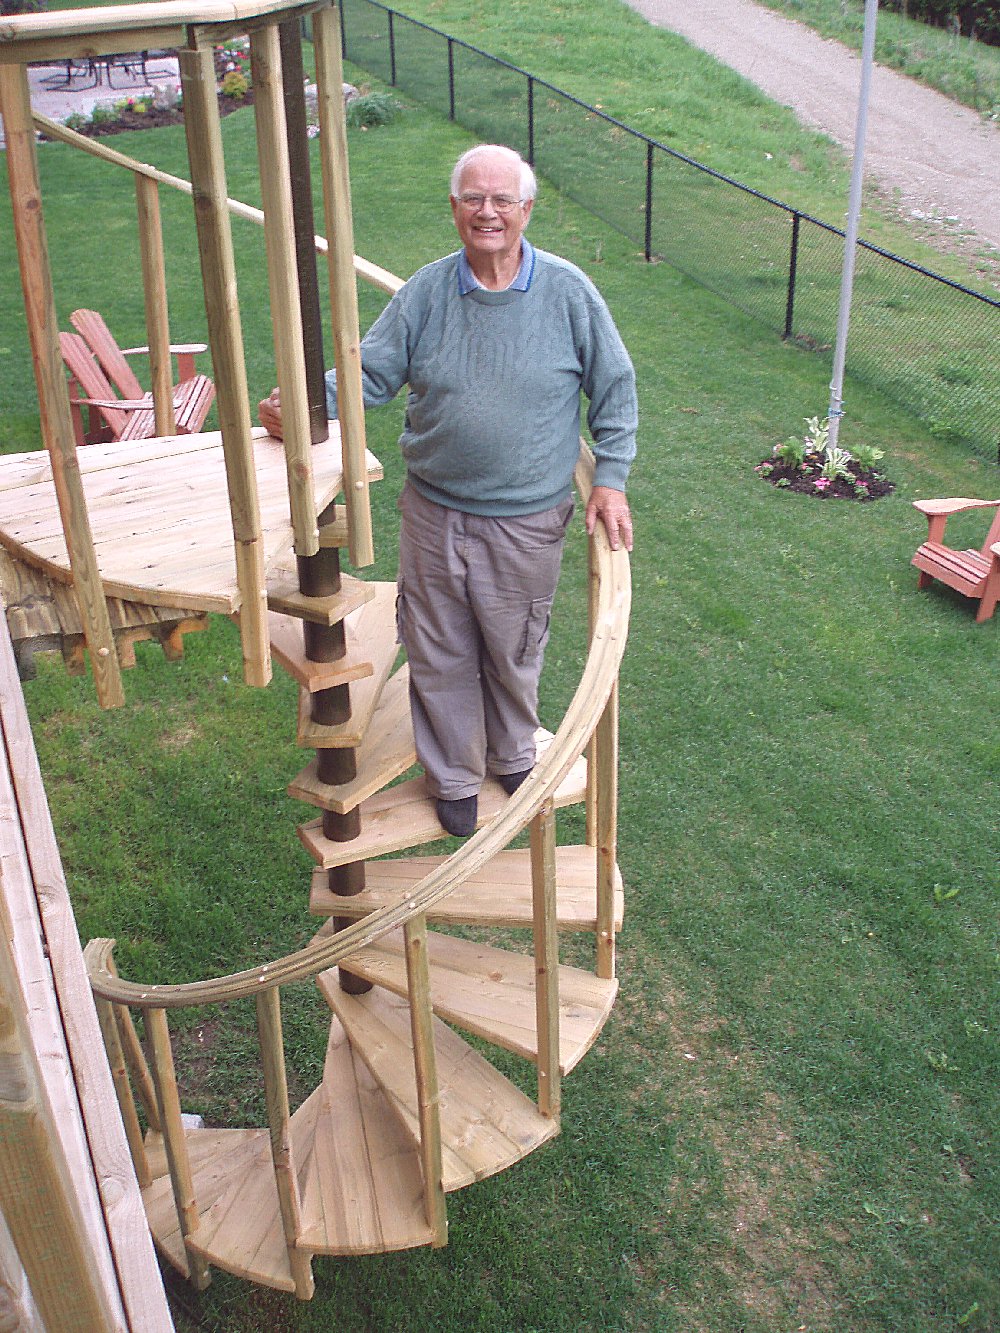
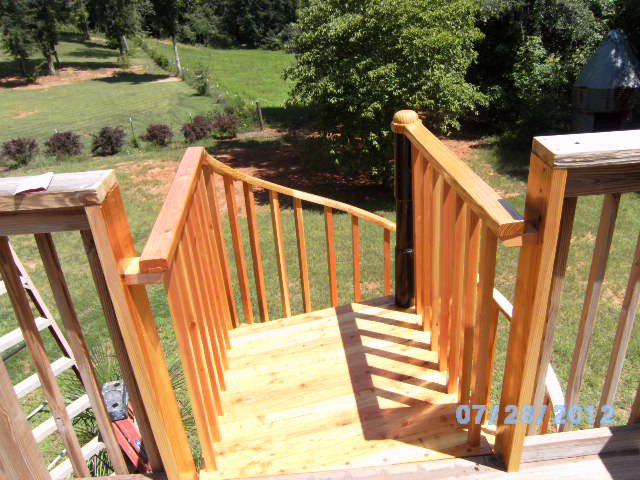
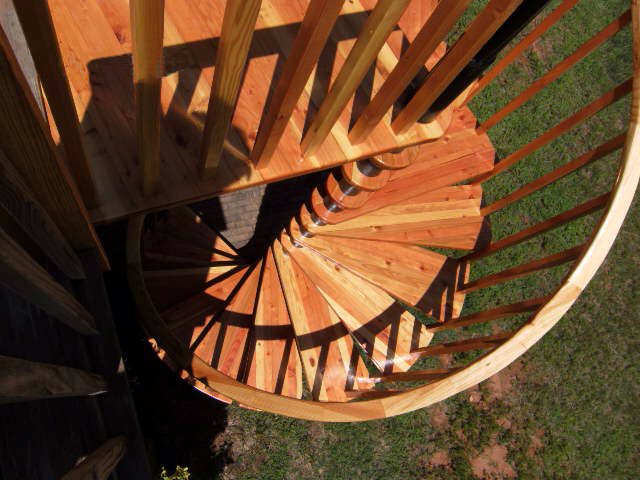
My project is complete! Lots of fun, Apart from my two kids, this is the project about which I am most proud! ;o)

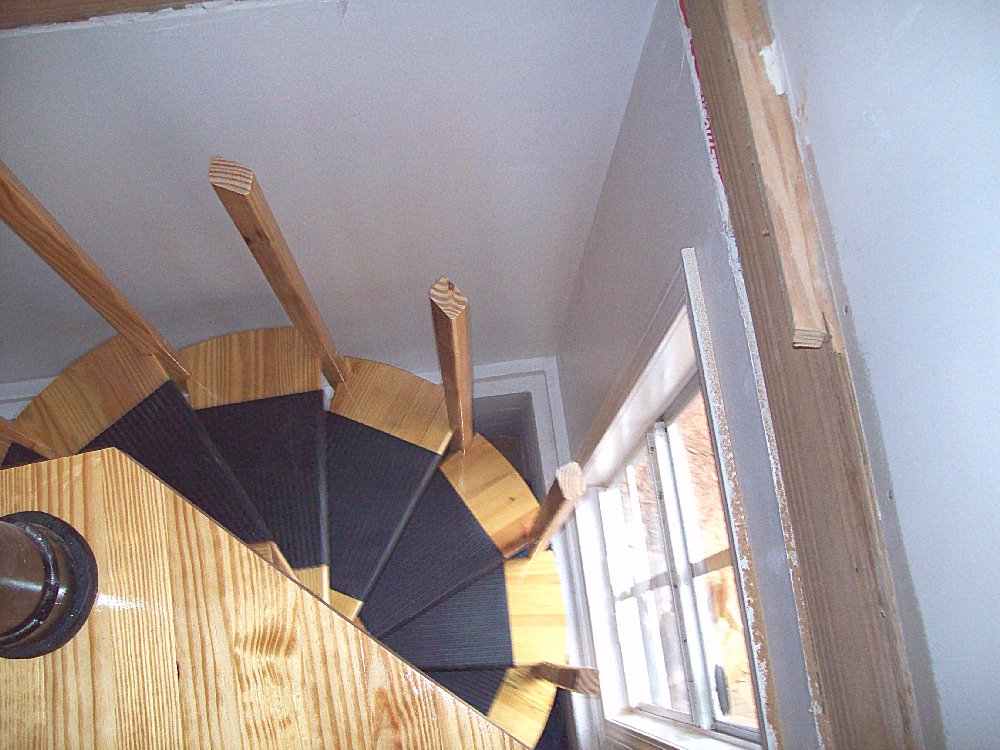
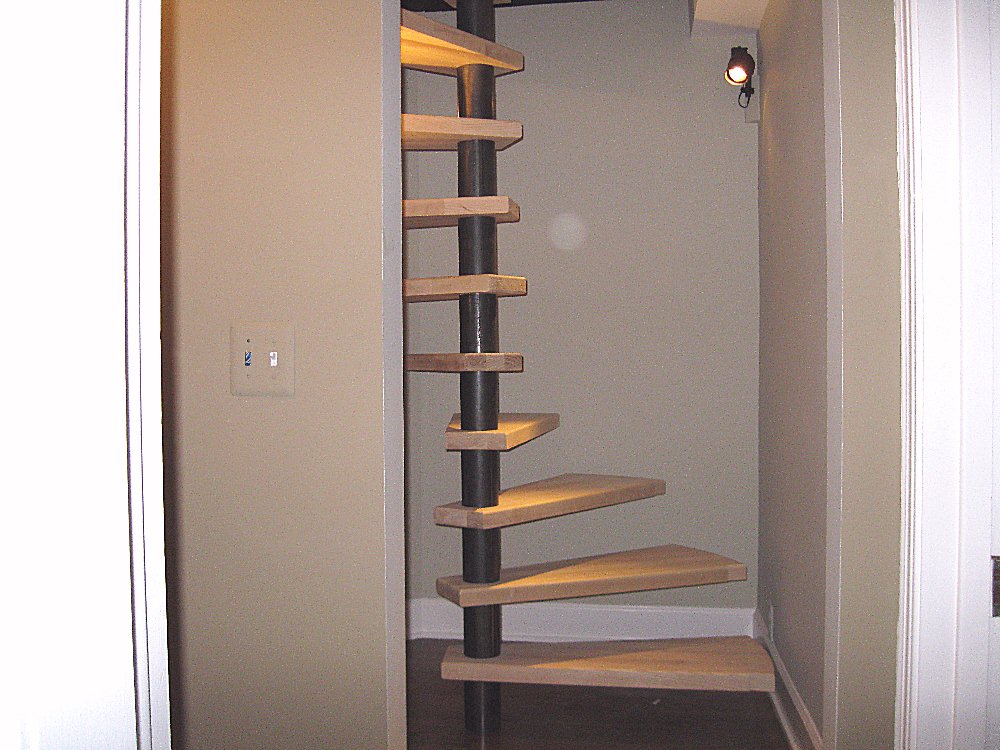
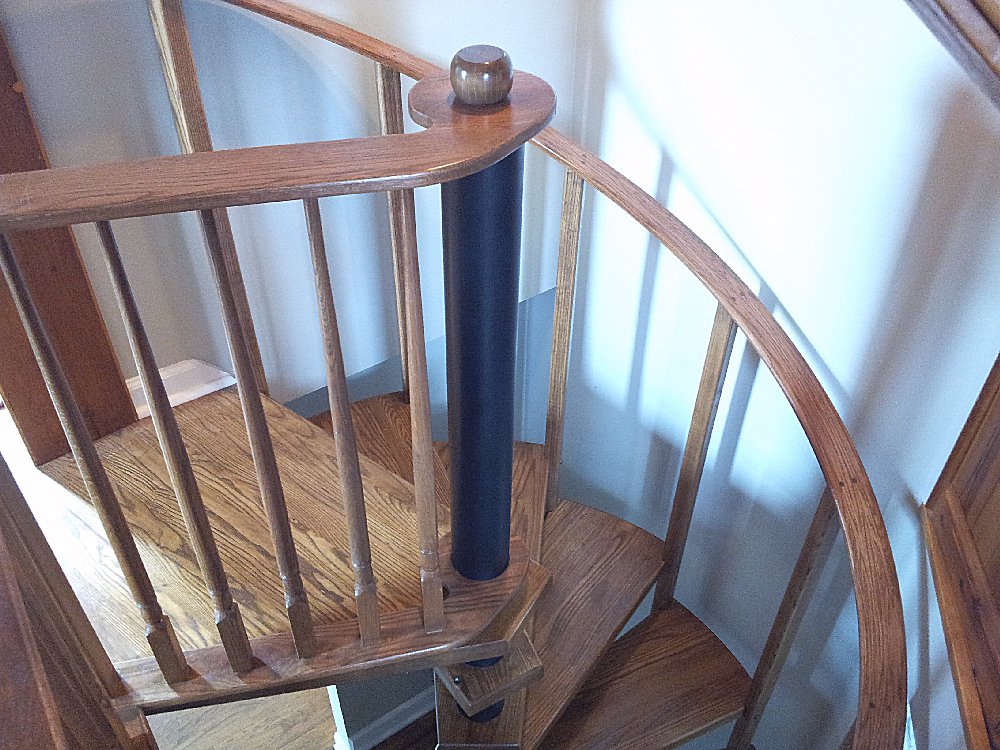
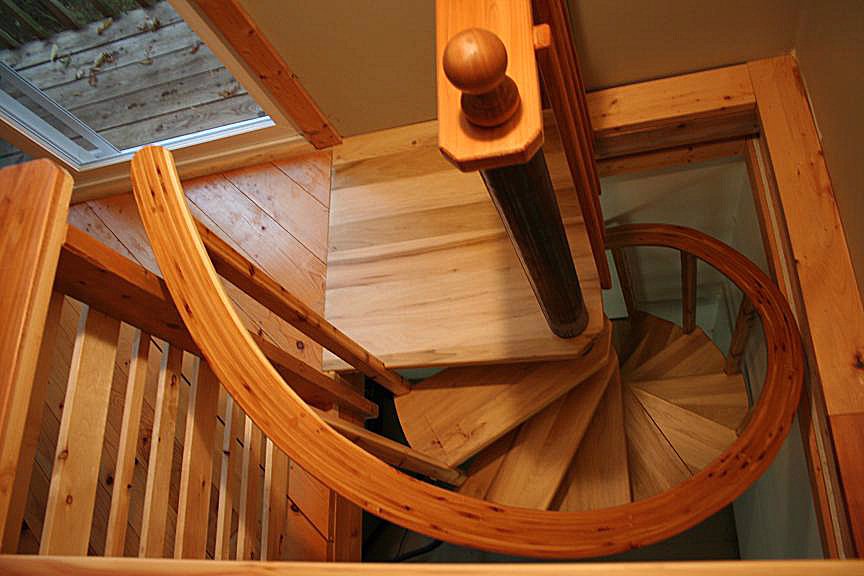
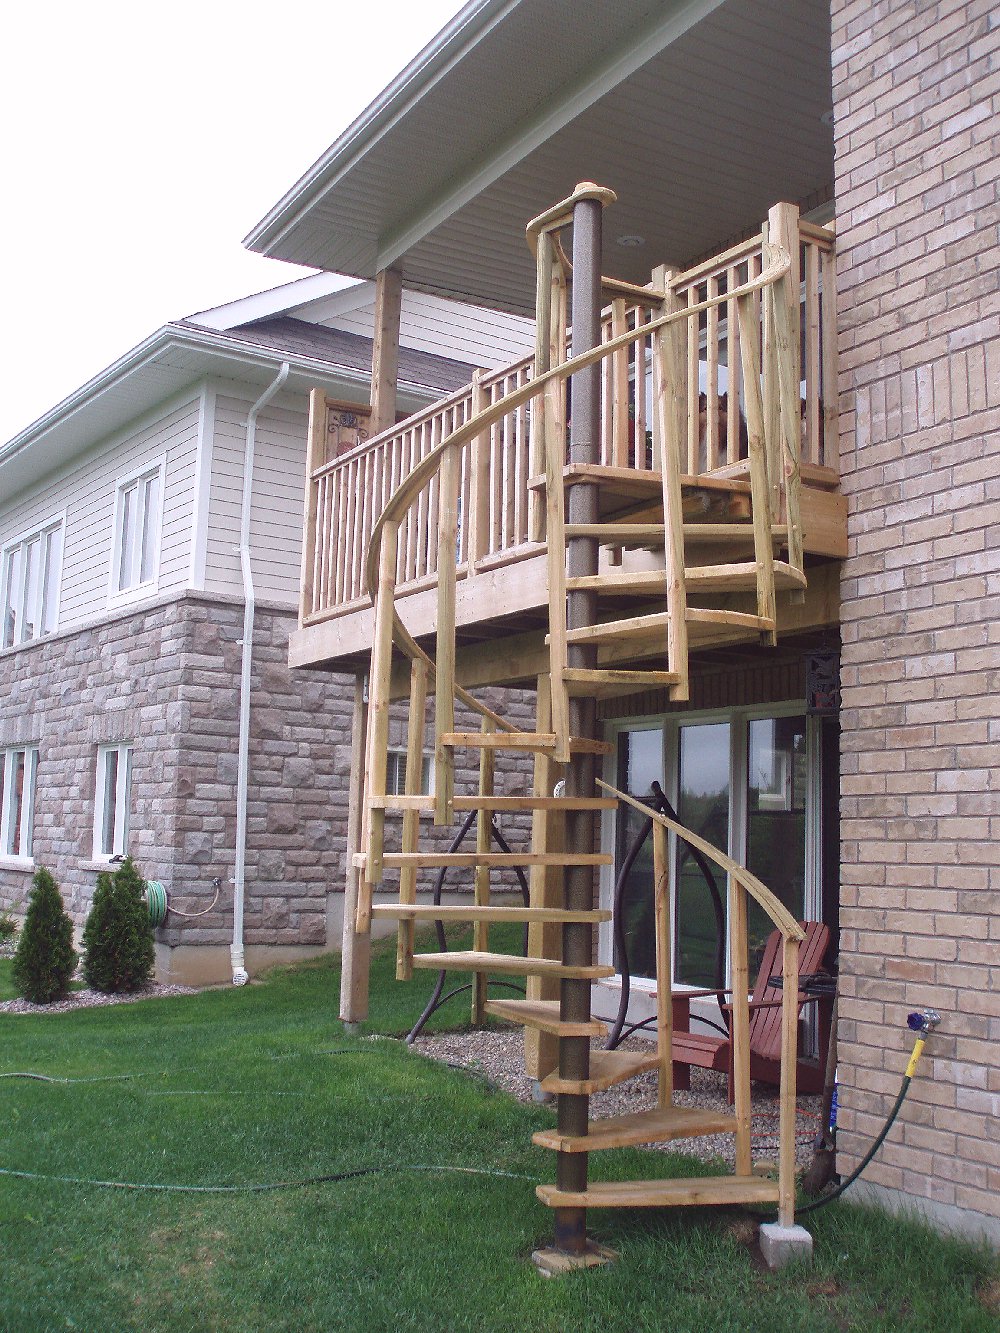
It is tiny, for sure, but we can all get up and down the stairs with no problem. I ended up cutting the corners off of the treads after it was installed as they were getting in the way. The stairs will serve as good incentive not to gain any weight!

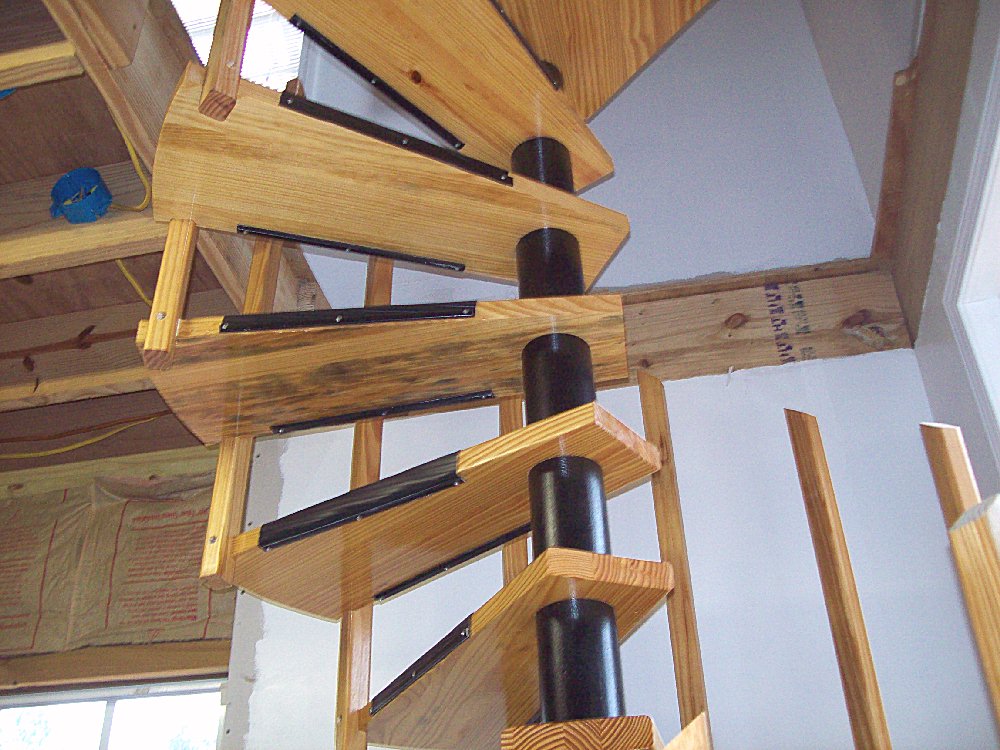
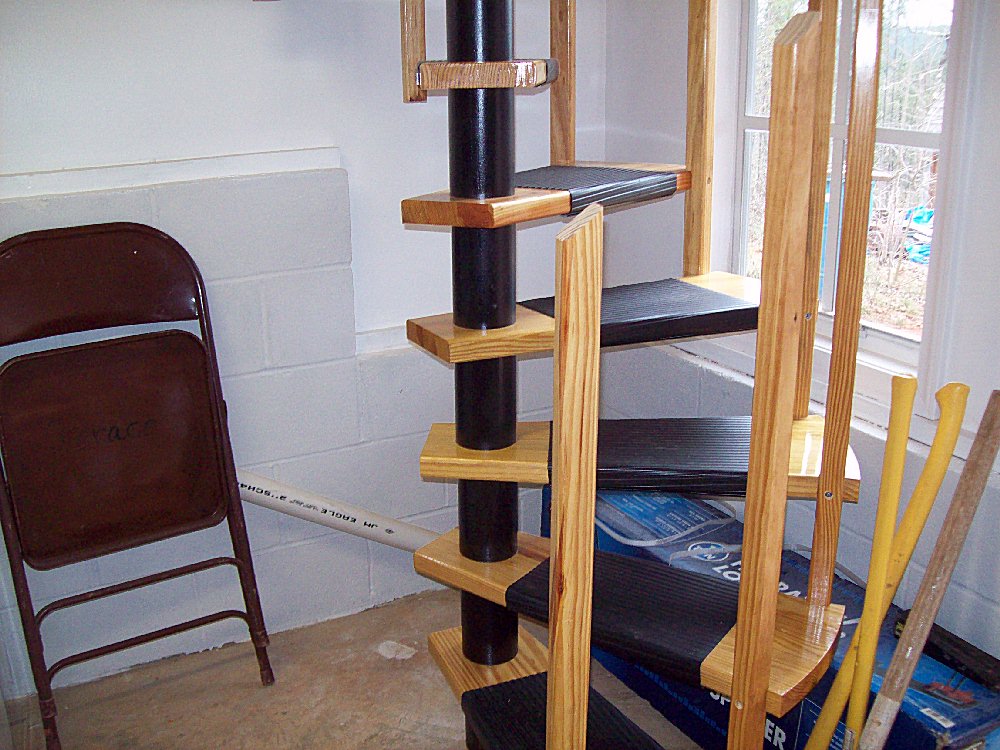
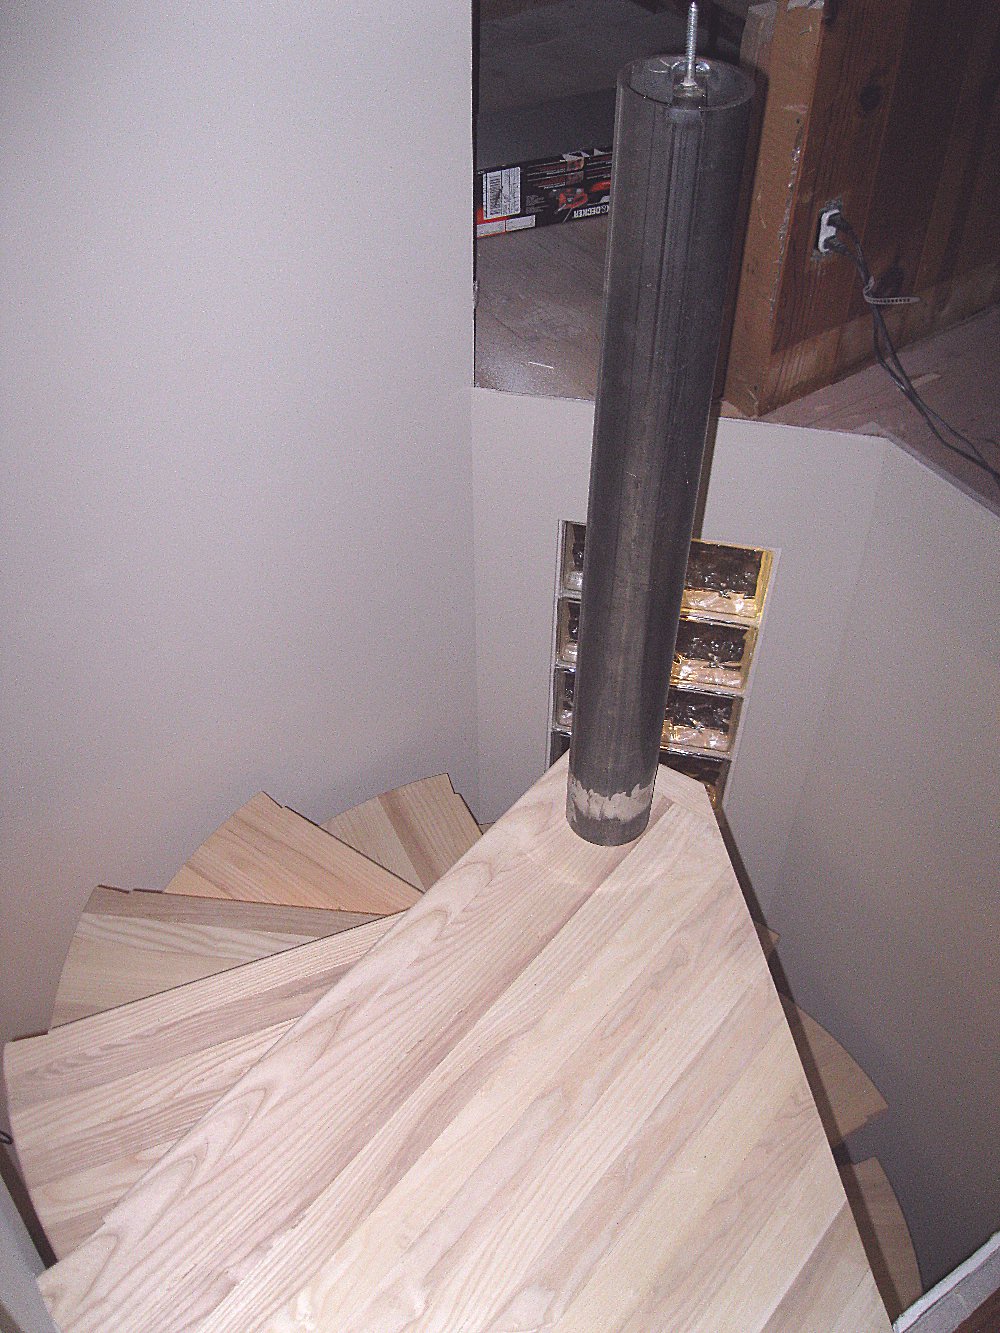
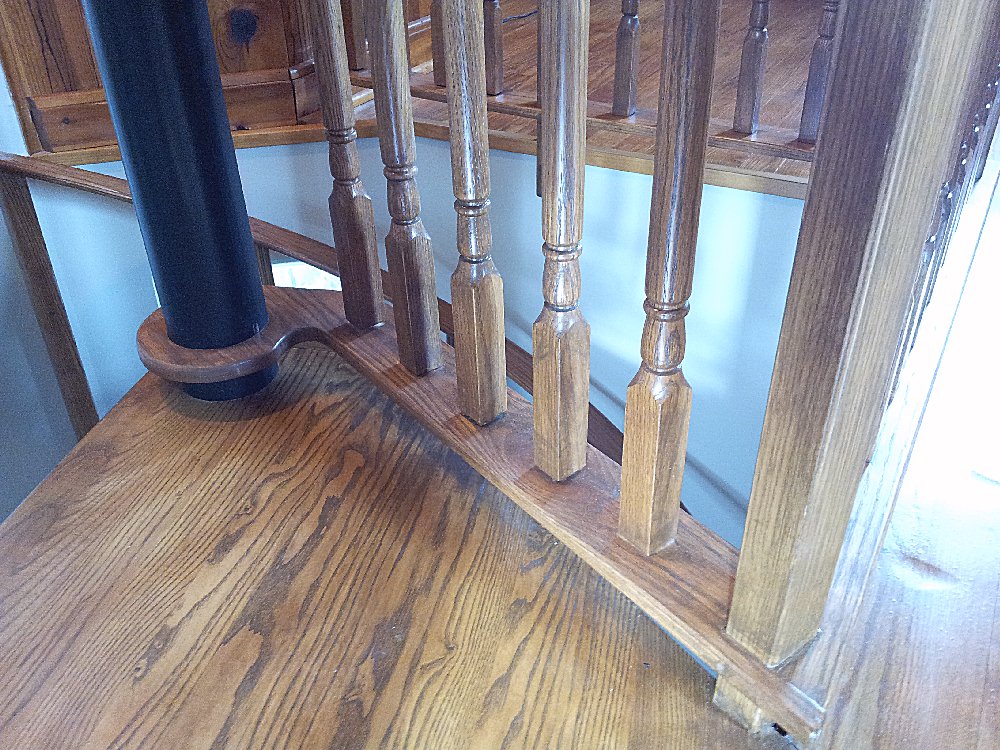
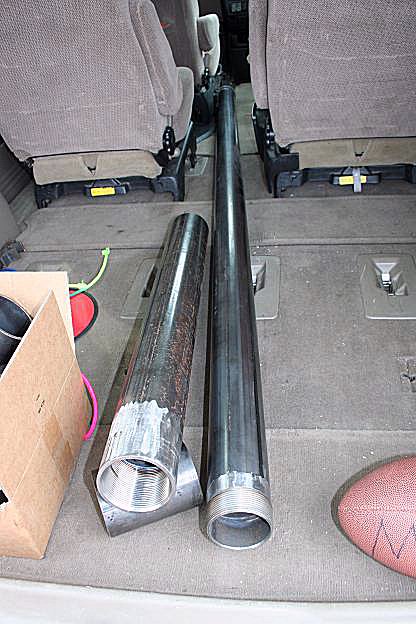
The diameter was 48" and I used every bit of it. I think in hindsight, the only 
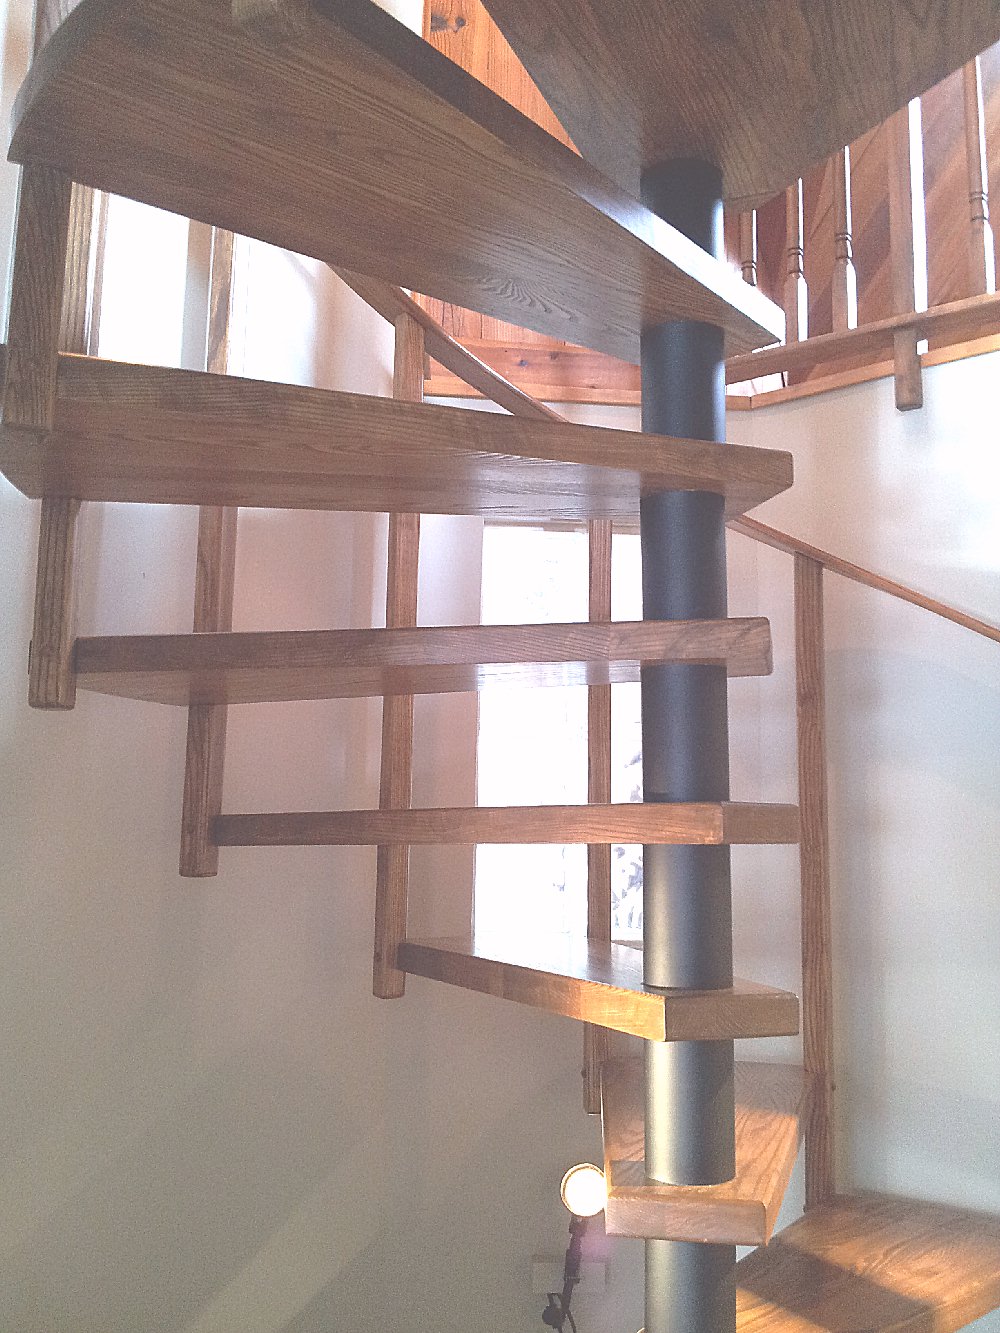
thing I would change would be to use better wood for the balusters. I just used regular 8 foot 2x4 cedar boards. I found a beautiful piece of 16 foot 2x6 cedar that I used for the banister on the landing and I cut it down for the balusters on the landing as well - those balusters are stunning. I wish I would have had the foresight to do the same for the others.

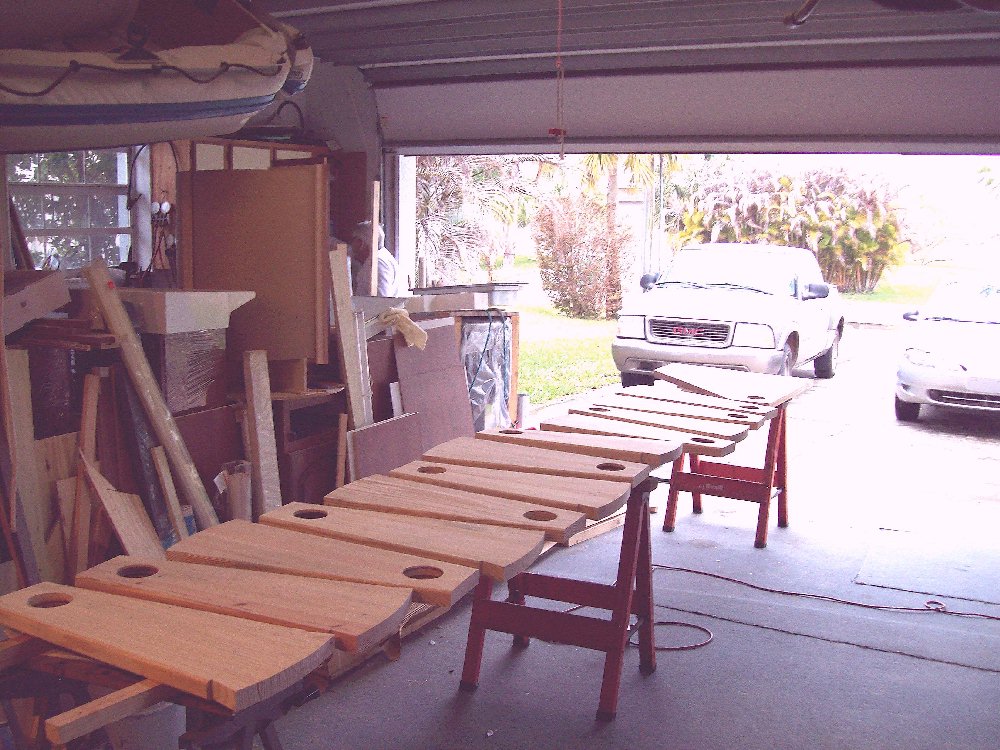
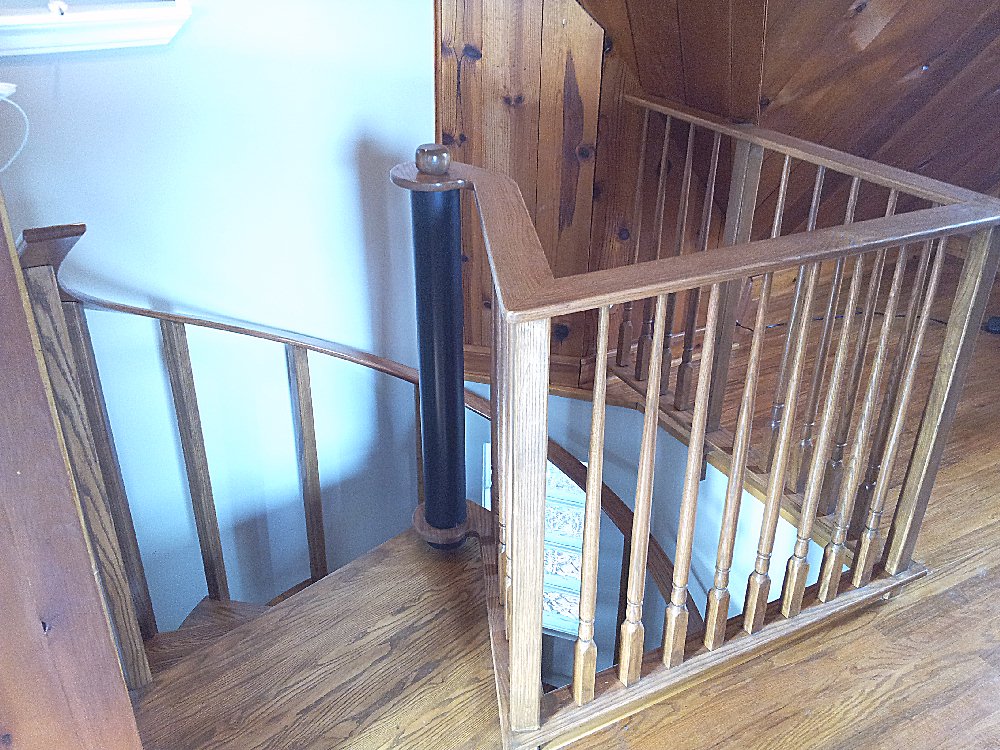
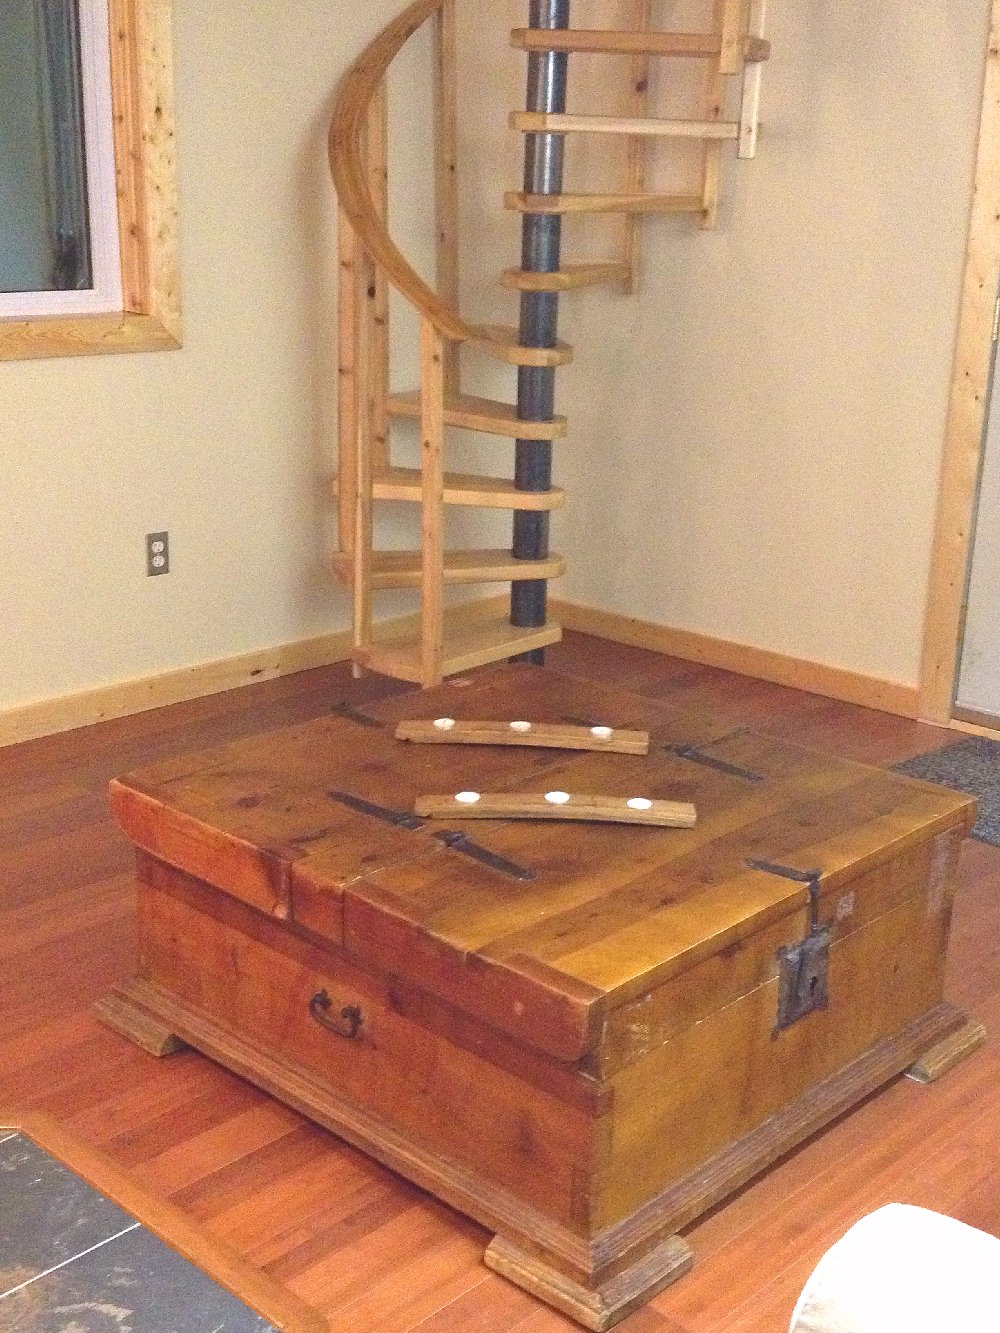
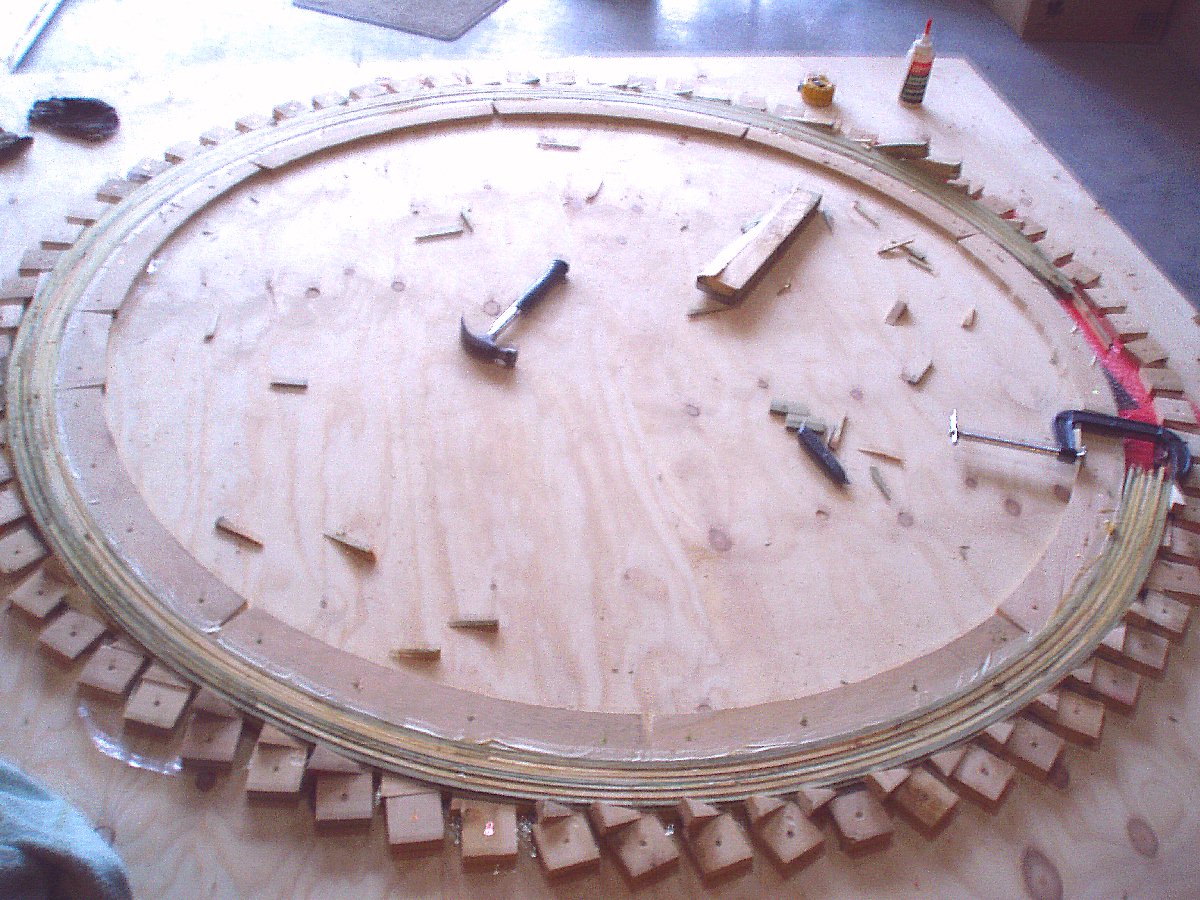
The stair treads I did off and on over the course of last winter in my basement. The install of the treads, the center pole and the balusters, in addition to the making the form for the handrail and gluing and placing the slats in the handrail form took 2 full working days. It took the better part of the day to install a new landing and the handrail.

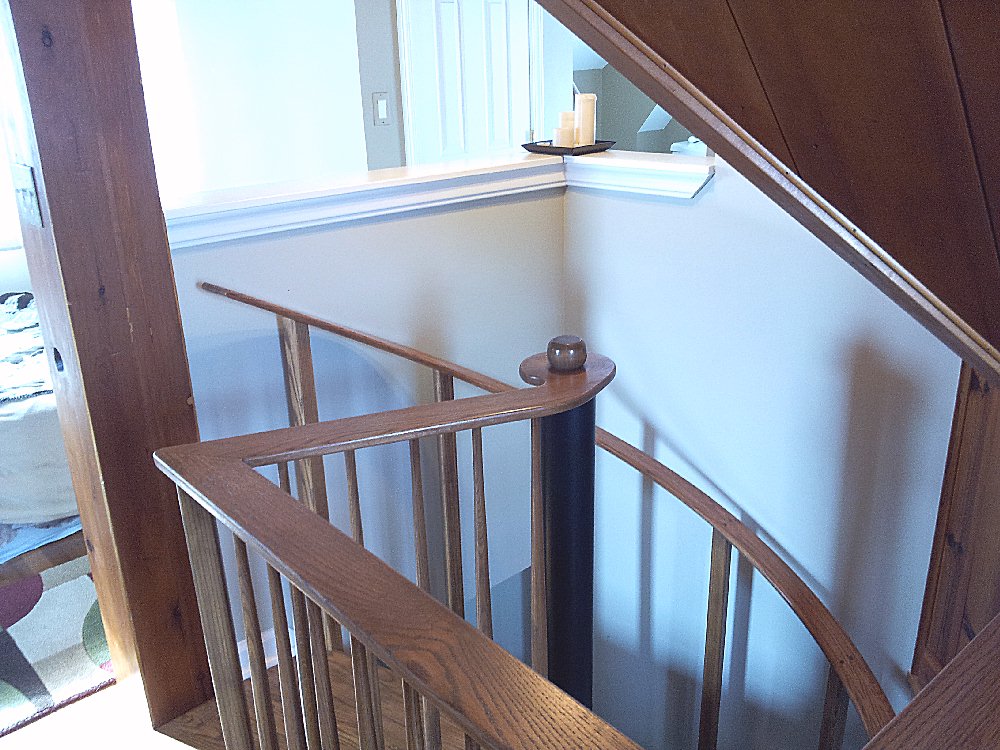
I really really enjoyed this project. I had a friend who helped me with the install, and we are both a little sad that it's over. It's the process that we enjoy so much.

Cheers, Sue

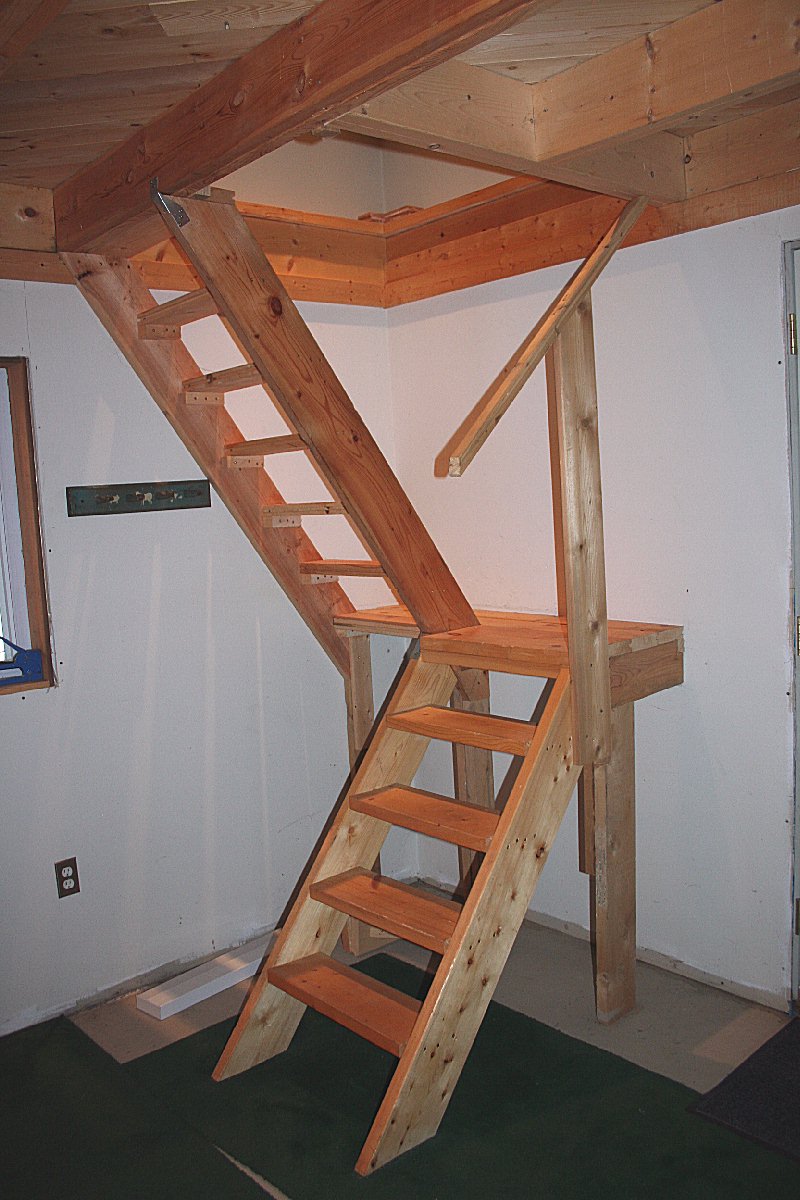
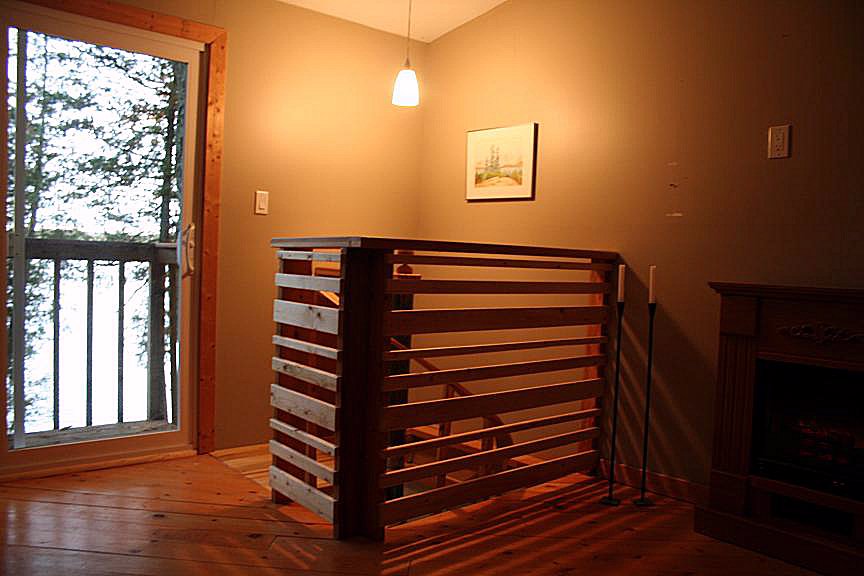
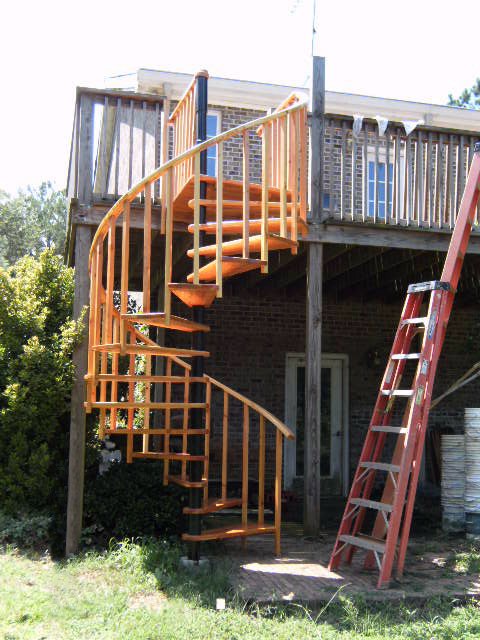
Note the straight stair Sue replaced.


Click the small images for the bigger ones.

Stair stringers Replacing stairs Floor hole for spiral staircase Floor hole for spiral stair Spiral staircase parts Spiral stair parts DIY spiral staircase plans Spiral stair plans DIY spiral stair plans Building spiral stairs


Denis Stephenson

Hi Jim

I don't know whether you recall sending me plans for the spiral stairs last fall, but I thought you might be interested in the final results.

I asked you at the time whether they could be for outside use and you said yes provided I used the appropriate wood. I used Canadian pressure treated lumber, pine or spruce I think, and it was quite successful. I did have some trouble with knots but this is typical of the wood.

I also had a little delamination of the bannister after installation because we had a very wet spring and the water based outside type wood glue let go in a few places. I should have used more glue in the forming process I guess, I was able to resolve this however by using "Gorilla" glue in the necessary spots and clamping. I had little difficulty with the project.

Attached are a few photos of the completed outside stairs.

Your directions were excellent, easy to follow, and did not miss a point - thank you!

The stairs are the talk of the neighbourhood by the way!


Click the small images for the bigger ones.

Exterior spiral staircase Exterior spiral staircase Exterior spiral stair Exterior spiral stair handrail


Jim Soisson

When I emailed you with a question you asked for pics when complete. Well here they are and THANKS!!!

My wife really loves the stairs.


Click the small images for the bigger ones.

Cedar spiral staircase Exterior Cedar spiral stair Exterior Cedar spiral staircase


Home built stair pictures. Home Page 1 Page 2 Page 3 Page 4 Page 5 Page 6 Page 7